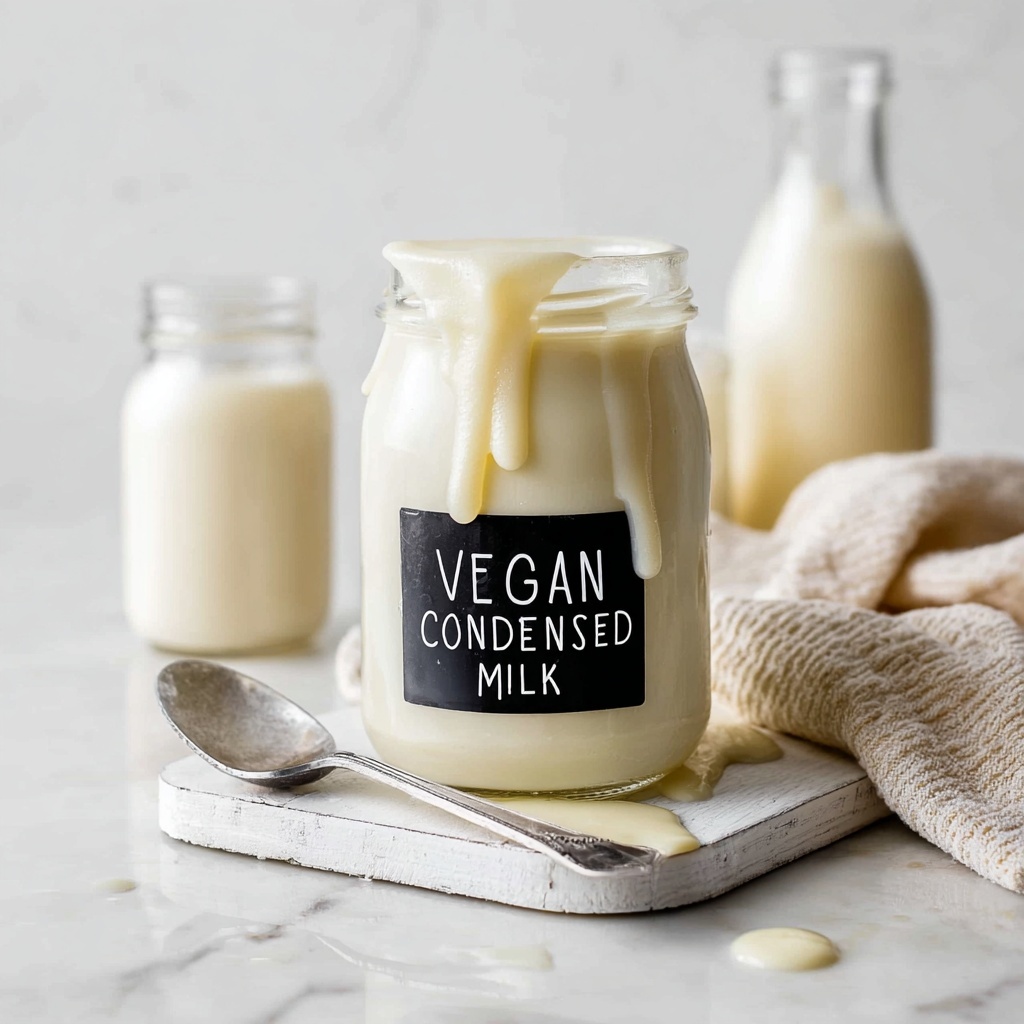
If you’ve ever wished for a luscious, dairy-free alternative to the classic sweetened milk that makes desserts sing, you’re in luck. This Vegan Condensed Milk Recipe captures the creamy richness you love, using simple ingredients that come together to create a velvety, caramel-toned treat. It’s perfect for anyone craving that traditional condensed milk’s sweetness without any animal products, and it’s surprisingly easy to make at home with just a few pantry staples. Prepare to be amazed at how such a simple recipe can elevate your baking and dessert game!
Ingredients You’ll Need
The beauty of this Vegan Condensed Milk Recipe lies in its simplicity. Each ingredient plays a crucial role—coconut milk brings creaminess and body, sugar adds the perfect sweetness and caramel notes, and a touch of vanilla extract creates a warm, comforting aroma. Let’s take a look at these essential ingredients that you probably already have on hand:
- 800 ml full-fat canned coconut milk: The creamy base that gives our condensed milk its rich, silky texture and subtle tropical flavor.
- 120 g granulated sugar: Provides the necessary sweetness and helps thicken the mixture as it simmers down, creating that signature condensed milk consistency.
- ½ teaspoon vanilla extract (optional): Adds a fragrant, sweet depth that rounds out the flavors for an irresistible finish.
How to Make Vegan Condensed Milk Recipe
Step 1: Warm the Coconut Milk
Start by pouring your full-fat canned coconut milk into a medium saucepan and place it over medium heat. Whisk the milk gently as it begins to warm, watching carefully until it just reaches a simmer. This step ensures even heat distribution so the milk reduces uniformly without scorching.
Step 2: Incorporate the Sugar
Once simmering, add the granulated sugar to the coconut milk and whisk it in thoroughly until you have a smooth mixture. Lower the heat to medium-low to keep the liquid at a gentle simmer. This slow cooking process is key—it concentrates flavors and thickens the liquid to mimic traditional condensed milk.
Step 3: Simmer and Stir
Now comes the patience test. Let the mixture simmer for 60 to 75 minutes, stirring every 10 to 15 minutes. Alternate between a whisk and rubber spatula to prevent sticking and to help break up any thick spots. You’ll notice the liquid gradually reducing and thickening to a luscious syrup-like consistency.
Step 4: Check for Thickness and Add Vanilla
When the mixture has reduced by about half and has a thick, shiny texture, it’s time for the test. Drag your spatula through the condensed milk—if the line stays visible for a few seconds before filling back in, you’ve nailed it. Remove from heat and whisk in the vanilla extract for that extra flavor boost.
Step 5: Cool and Refrigerate
Transfer your vegan condensed milk into an airtight jar and let it cool at room temperature for 15 to 20 minutes. Then pop it into the fridge for at least 2 hours—this chilling step helps it firm up further and develop the perfect spreadable texture.
How to Serve Vegan Condensed Milk Recipe
Garnishes
This Vegan Condensed Milk Recipe shines when used as a luscious drizzle or a sweet finish. Garnish your desserts with a swirl on top of fruit tarts, pancakes, or even vegan ice cream. A sprinkle of toasted coconut or crushed nuts adds wonderful texture and depth.
Side Dishes
Pair this thick, sweet condensed milk with warm breads, like cinnamon rolls or homemade vegan banana bread, for an irresistible duo. It also makes an excellent dip for fresh fruit slices, turning an ordinary snack into a decadent treat.
Creative Ways to Present
Think beyond just a sweetener—layer chilled vegan condensed milk into parfaits with fresh berries and coconut yogurt for a dreamy dessert. Or swirl it into your morning coffee or chai latte for a creamy, sweet twist that will brighten your day.
Make Ahead and Storage
Storing Leftovers
You can store any leftover vegan condensed milk in an airtight jar in the refrigerator for up to two weeks. It will thicken further as it chills, so just give it a good stir before using. This makes it easy to have a handy supply for whenever your sweet tooth calls.
Freezing
If you want to keep it longer, freezing is a good option. Pour the condensed milk into a freezer-safe container, leaving some headroom for expansion. It should keep well for up to 3 months. Thaw it overnight in the fridge and whisk before using to restore its creamy texture.
Reheating
When reheating, warm gently on the stovetop or in a microwave at a low setting, stirring frequently to prevent separation or burning. Avoid overheating to preserve its smooth, rich consistency that makes this Vegan Condensed Milk Recipe so delightful.
FAQs
Can I use a different type of non-dairy milk?
While this recipe is designed to work with full-fat canned coconut milk to achieve that thick, creamy texture, you can experiment with other plant-based milks. However, thinner milks like almond or oat milk may not reduce to the same richness and thickness, so adjustments in cooking time or ingredients might be necessary.
Is this vegan condensed milk sweet enough for baking?
Absolutely! The sugar content is balanced to provide sufficient sweetness that complements most desserts. If you prefer it sweeter, feel free to add a little more sugar during cooking, but try to keep the simmering time consistent to avoid burning.
Can I omit the vanilla extract?
Yes, vanilla is optional, but it adds a lovely depth and warmth to the final flavor. If you skip it, your Vegan Condensed Milk Recipe will still be deliciously sweet and creamy, just with a more straightforward coconut flavor.
How do I know when the condensed milk is done?
The best test is the texture—when it has reduced by half and you can draw a line with your spatula that holds for a few seconds. It should be thick, slightly sticky, and pour slowly, similar to traditional condensed milk.
Can I use this recipe to make sweetened condensed milk alternatives for other recipes?
Yes! This Vegan Condensed Milk Recipe works wonderfully as a one-to-one replacement in most recipes calling for sweetened condensed milk, including fudge, caramel sauces, and creamy desserts. It’s versatile and naturally delicious.
Final Thoughts
This Vegan Condensed Milk Recipe is a total game-changer for any plant-based kitchen. With just a few simple ingredients and a little patience, you get a beautifully rich, creamy, and sweet concoction that opens up a world of delicious possibilities. Whether you’re drizzling it over your favorite desserts, baking it into treats, or just enjoying it by the spoonful, this homemade condensed milk will quickly become a cherished staple. Give it a try and see how this naturally vegan delight transforms your sweet creations!
Print
Vegan Condensed Milk Recipe
- Prep Time: 5 minutes
- Cook Time: 60 minutes
- Total Time: 1 hour 5 minutes
- Yield: Approximately 450 g (15 servings, about 30 g each)
- Category: Condensed Milk / Dairy-Free Milk Substitute
- Method: Stovetop
- Cuisine: Vegan
- Diet: Vegan
Description
This Vegan Condensed Milk recipe uses full-fat canned coconut milk and sugar to create a rich, creamy, and dairy-free alternative to traditional condensed milk. It’s simmered slowly on the stovetop until thickened and reduced by half, then flavored with a hint of vanilla. Perfect for vegan baking, desserts, or as a sweetener in coffee and tea, this homemade condensed milk is simple and delicious.
Ingredients
Ingredients
- 800 ml full-fat canned coconut milk
- 120 g granulated sugar
- ½ teaspoon vanilla extract (optional)
Instructions
- Heat the Coconut Milk: Pour the coconut milk into a saucepan and set it over medium heat. Whisk the milk continuously as it heats to help prevent skin formation and sticking until it reaches a simmer.
- Add Sugar and Simmer: Stir in the granulated sugar thoroughly using a whisk, then reduce the heat to medium-low. Let the mixture cook gently for 60 to 75 minutes, stirring every 10-15 minutes, alternating between whisk and rubber spatula to ensure it does not stick or burn.
- Check for Thickness: The condensed milk is ready when it has reduced by about half and thickened. You can check by drawing a line in the mixture with your spatula; the line should hold its shape for a few seconds before the condensed milk flows back together. Remove from heat once this consistency is achieved.
- Add Vanilla Extract: Whisk in the ½ teaspoon of vanilla extract to add a subtle flavor boost, if using.
- Cool and Store: Transfer the thickened condensed milk into an airtight jar. Let it cool for 15-20 minutes at room temperature before refrigerating for at least 2 hours. It will thicken further as it chills. Use chilled in your favorite recipes.
Notes
- You can substitute the granulated sugar with coconut sugar or another sweetener of choice, but this may affect the final flavor and color.
- Stir regularly to prevent the coconut milk from burning or sticking to the pan.
- If the condensed milk is too thick after refrigeration, gently warm it to loosen the texture.
- Store the condensed milk refrigerated in an airtight container for up to 1 week.
- This recipe does not require any special equipment beyond a saucepan and whisk.


