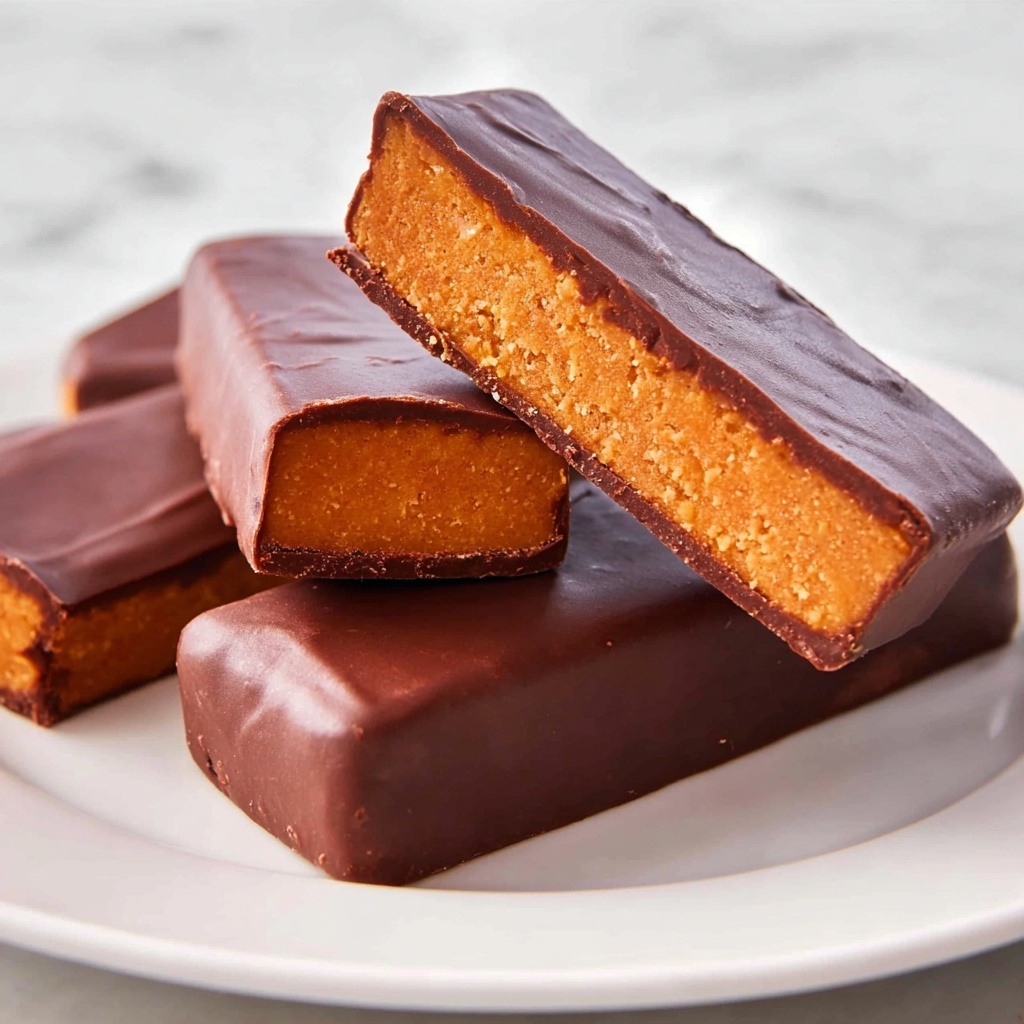
If you have a sweet tooth and a love for nostalgic treats, this Homemade Butterfingers Recipe is about to become your new best friend in the kitchen. It takes the beloved peanut butter and candy corn combination, transforms it into a crunchy, peanutty, and chocolate-covered delight that melts in your mouth. You’ll be amazed at how simple ingredients come together to recreate that classic Butterfinger taste, minus the store-bought preservatives and extra fuss. Whether you’re craving a festive homemade candy or looking for a fun project that results in irresistibly crunchy bars, this recipe delivers in every bite.
Ingredients You’ll Need
Gathering these few but mighty ingredients is the first step toward making your own delicious Butterfingers at home. Each one plays a special role—the candy corn brings sweetness and texture, the peanut butter adds that rich, nutty creaminess, and the chocolate coating wraps it all up with a smooth finish.
- 1 pound candy corn: Candy corn melts easily and provides the signature buttery crunch you expect from Butterfingers.
- 1 (16-oz) jar peanut butter: Use your favorite creamy or crunchy style to add depth and that comforting peanut flavor.
- 1 (16-oz) package chocolate candy coating: Melts smoothly for coating and gives the candy a professional finish with a rich chocolate taste.
How to Make Homemade Butterfingers Recipe
Step 1: Melt the Candy Corn
Start by melting the candy corn in the microwave. Heat it on high for 1 minute, then stir well. Keep microwaving in 15-second bursts, stirring after each, until it’s completely melted and smooth. This ensures the base is silky and ready for the peanut butter addition without burning or clumping.
Step 2: Blend in the Peanut Butter
Next, stir in the peanut butter thoroughly into the melted candy corn. The mixture will thicken and take on that classic golden color with creamy texture. Immediately pour and spread this mixture evenly into an 8×8 inch pan lined with parchment paper. Let it cool completely to firm up, which makes cutting and dipping easier.
Step 3: Melt the Chocolate Candy Coating
While waiting for the mixture to cool, melt the chocolate candy coating according to package instructions. Having smooth, melted chocolate ready is essential before cutting the bars, so your dips will be quick and even.
Step 4: Cut and Dip the Candy Bars
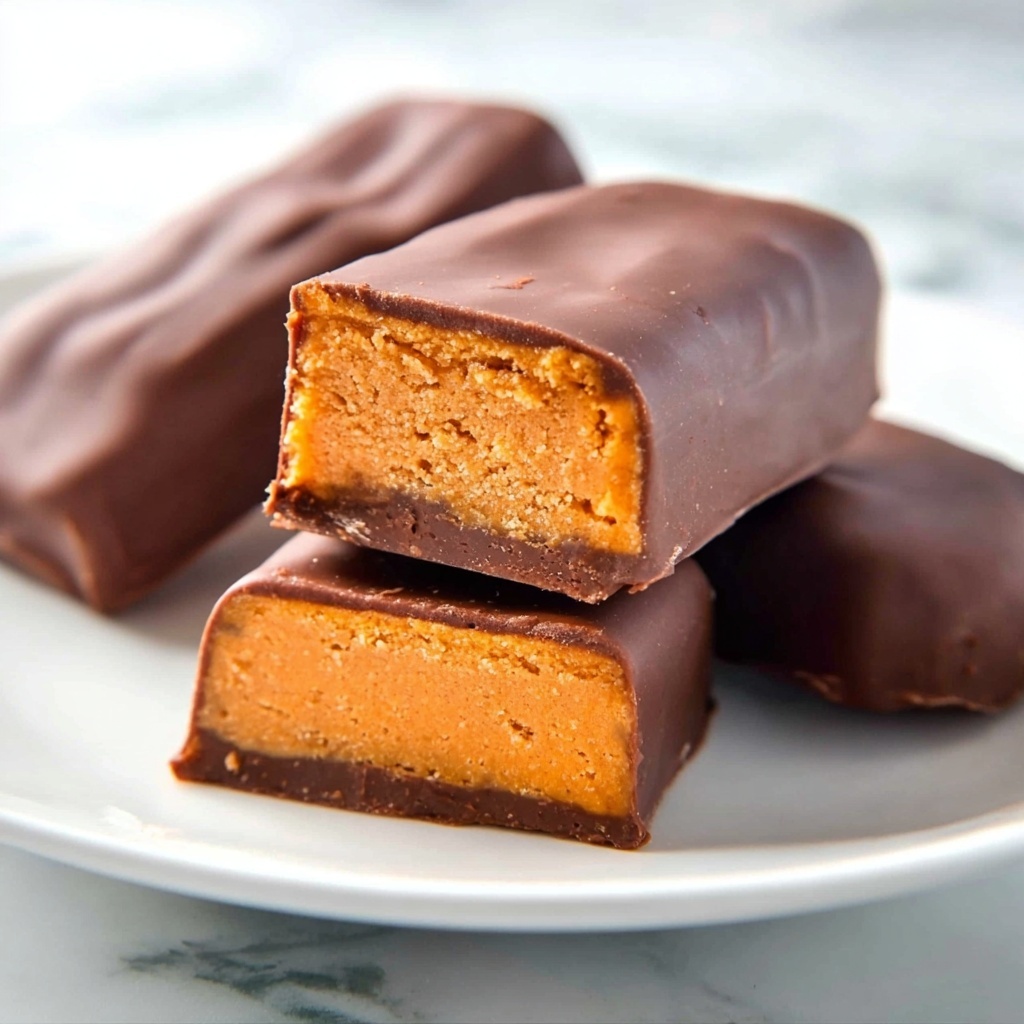
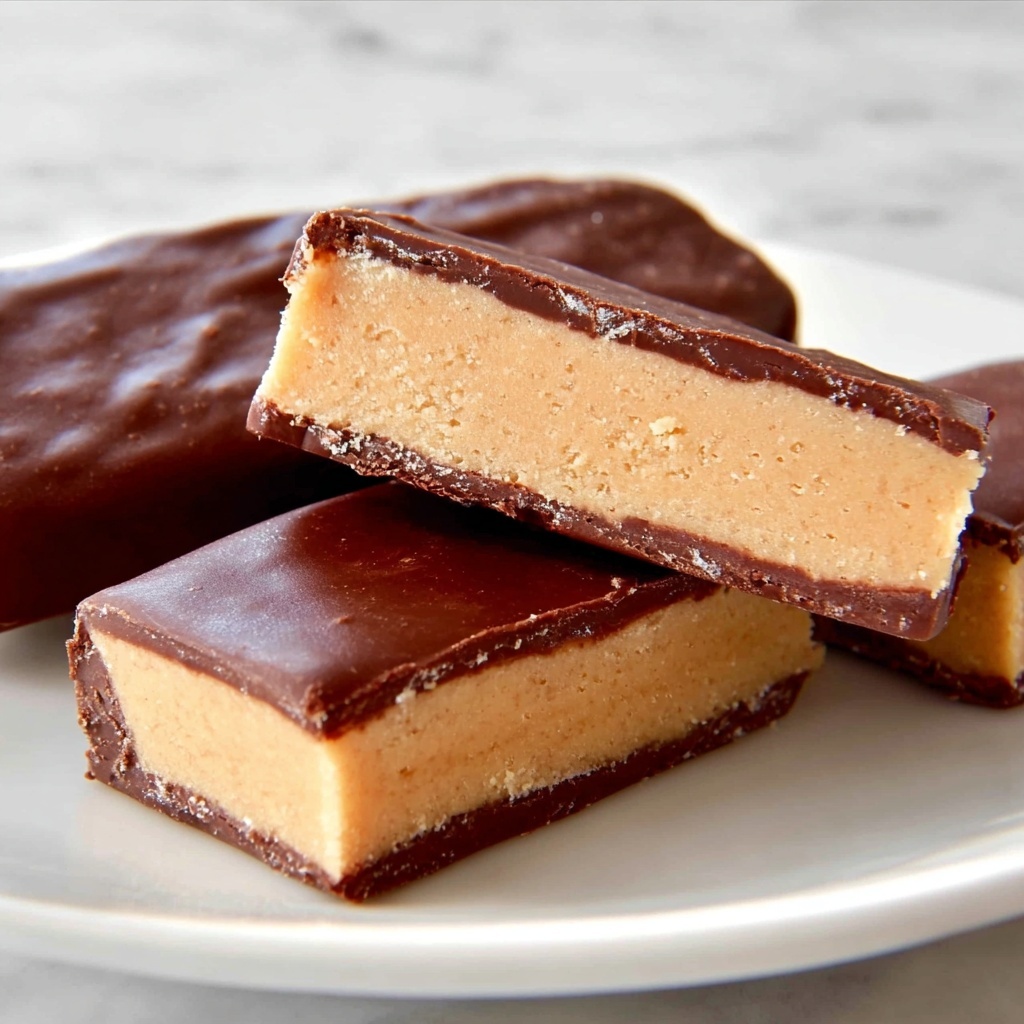
Once cooled and firm, cut the peanut butter candy into squares or rectangles just like store-bought Butterfingers. Dip each piece carefully into the melted chocolate, ensuring full coverage. Place the dipped bars on waxed paper and let the chocolate set completely before serving or storing. This final step gives your homemade candy that irresistible crunchy shell.
How to Serve Homemade Butterfingers Recipe
Garnishes
For an extra touch, sprinkle finely chopped peanuts or a light dusting of sea salt over the chocolate before it sets. This adds a wonderful texture contrast and enhances the peanut flavor, making your Homemade Butterfingers Recipe even more mouthwatering.
Side Dishes
Pair these Butterfinger bars with a cup of rich coffee or creamy milk for a nostalgic snack experience. They also go beautifully with vanilla ice cream as a crunchy topping, turning a simple dessert into an indulgent treat.
Creative Ways to Present
For parties or gifts, arrange your homemade bars in a decorative box lined with parchment paper, perhaps tied with a ribbon. You can also drizzle extra melted chocolate or caramel over the bars for a gourmet look. These little details show love and care in every bite!
Make Ahead and Storage
Storing Leftovers
Keep any leftover Homemade Butterfingers Recipe bars in an airtight container at room temperature or in the fridge. They stay fresh and crunchy for up to a week, perfect for satisfying unexpected sweet cravings.
Freezing
Want to make them last even longer? Wrap each bar individually in wax paper and place in a freezer-safe container. They can be frozen for up to 2 months without losing their texture or flavor. Just thaw at room temperature before serving.
Reheating
These candy bars are best enjoyed as is, but if you prefer a slight softness, let them sit for a few minutes in a warm spot or microwave for 5 to 10 seconds on low power. Avoid overheating so the chocolate shell stays intact and deliciously crisp.
FAQs
Can I use crunchy peanut butter instead of creamy?
Absolutely. Using crunchy peanut butter adds an extra layer of texture that complements the candy’s crunch, making your Homemade Butterfingers Recipe even more interesting and satisfying.
Is candy corn essential, or can I substitute it?
Candy corn is key for achieving that classic Butterfinger crunch and flavor, but if you’re not a fan, you can experiment with other melting candies. Just note it will change the texture and taste, so candy corn is recommended for the authentic feel.
Do I need special tools to make these bars?
No special tools required! A microwave-safe bowl, an 8×8 pan, parchment or wax paper, and a spatula are all you need. The process is simple enough for beginners and fun for experienced bakers too.
How long does it take for the chocolate coating to set?
Depending on room temperature, it usually takes about 15 to 30 minutes for the chocolate to harden completely at room temperature. Placing them briefly in the fridge can speed up the process if you’re in a hurry.
Can I make these bars vegan or dairy-free?
Yes, by selecting dairy-free peanut butter and using vegan chocolate candy coating, you can easily adapt the Homemade Butterfingers Recipe to suit vegan or dairy-free diets without losing the deliciousness.
Final Thoughts
There’s something so soul-satisfying about making candy at home, especially a beloved treat like Butterfingers. This Homemade Butterfingers Recipe is straightforward, fun, and unbelievably tasty—a true crowd-pleaser for any occasion. So grab your ingredients, get mixing, and treat yourself and your loved ones to these crunchy, chocolate-coated goodies. Once you try making them, store-bought Butterfingers will never quite measure up again!
Print
Homemade Butterfingers Recipe
- Prep Time: 10 minutes
- Cook Time: 5 minutes
- Total Time: 15 minutes
- Yield: 12 candy bars
- Category: Candy
- Method: No-Cook
- Cuisine: American
Description
This homemade Butterfingers recipe is a delightful, candy bar treat featuring a smooth peanut butter and melted candy corn base coated in rich chocolate. It’s easy to make with just three main ingredients and requires no baking, perfect for a sweet snack or gift.
Ingredients
For the Peanut Butter Candy Base
- 1 pound candy corn
- 1 (16-ounce) jar peanut butter
For the Chocolate Coating
- 1 (16-ounce) package chocolate candy coating
Instructions
- Melt Candy Corn: Place the candy corn in a microwave-safe bowl and microwave on high for 1 minute. Stir well, then continue melting in 15-second intervals, stirring after each, until fully melted and smooth.
- Mix in Peanut Butter: Immediately stir the peanut butter into the melted candy corn until well combined. Quickly spread the mixture evenly into an 8×8 inch pan lined with parchment paper. Allow it to cool completely until firm.
- Cut Into Squares: Once firm, cut the peanut butter and candy corn mixture into squares to form the candy bars.
- Melt Chocolate Coating: Melt the chocolate candy coating according to the package instructions until smooth.
- Dip Candy Bars: Dip each peanut butter square into the melted chocolate coating, fully covering them. Place the coated bars on waxed paper and let them set until the chocolate hardens.
Notes
- Use smooth peanut butter for the best texture and coating adherence.
- Be careful when melting candy corn to avoid burning; stir frequently.
- Line your pan with parchment paper for easy removal after cooling.
- Allow chocolate coating to set completely before serving or storing to prevent sticking.
- Store finished Butterfingers in an airtight container at room temperature for up to 1 week.
