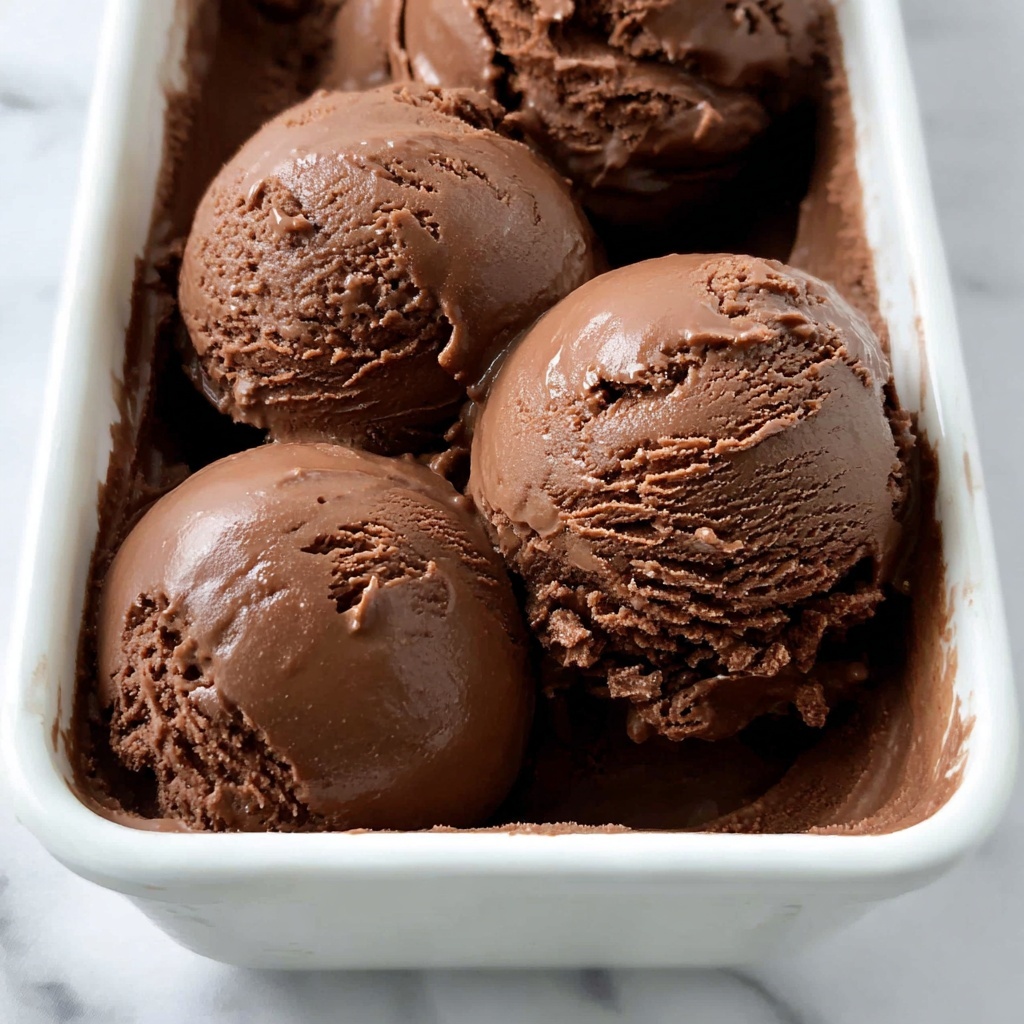
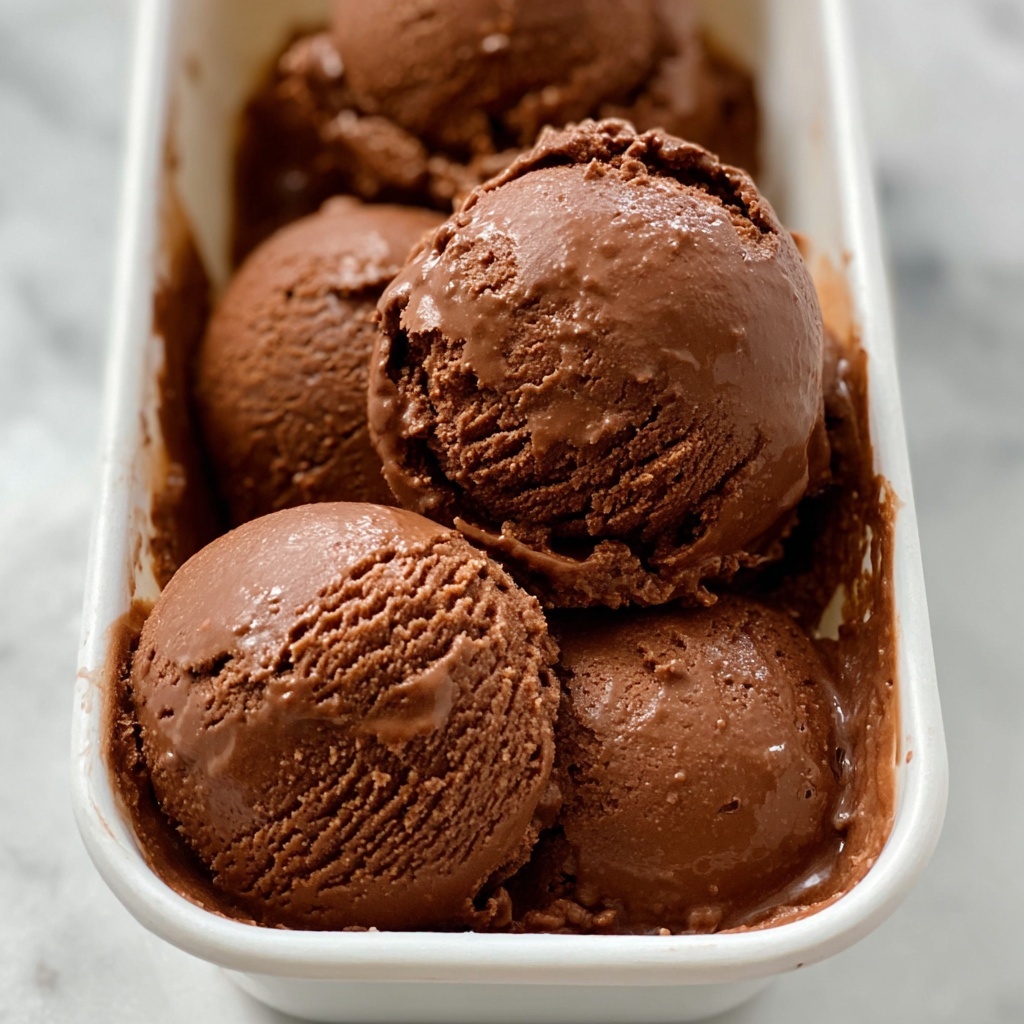
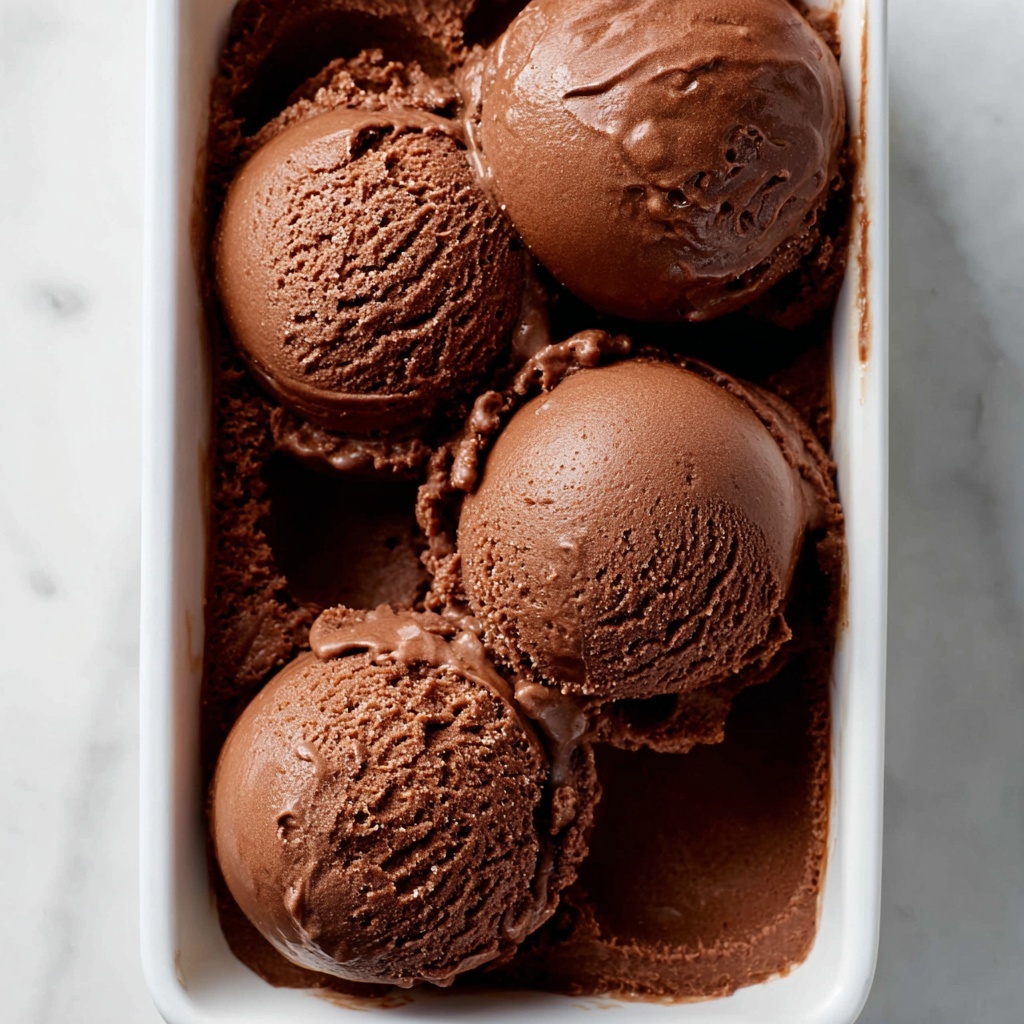
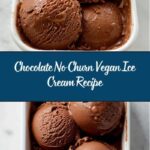
If you have a sweet tooth but want to keep things plant-based, this Chocolate No Churn Vegan Ice Cream Recipe is about to become your new best friend. Imagine rich, creamy chocolate ice cream that requires no fancy equipment like an ice cream maker and is delightfully dairy-free. It’s smooth, indulgent, and incredibly easy to whip up with just a handful of wholesome ingredients. Whether you’re vegan, lactose-intolerant, or just someone who loves simple desserts, this recipe promises a luscious treat without any fuss.
Ingredients You’ll Need
These ingredients are surprisingly straightforward yet crucial for achieving the perfect balance of creaminess, sweetness, and that deep chocolate flavor. Each one plays a special role, from the thickness of the coconut cream to the intensity of the cacao powder.
- Coconut whipping cream (14.1 oz, chilled): The star that gives this ice cream its creamy, dreamy texture without dairy.
- Sweetened condensed coconut milk (11.3 oz): Adds just the right amount of natural sweetness and helps keep the ice cream scoopable after freezing.
- Vanilla extract (1 teaspoon): Enhances the chocolate flavor and rounds out the taste with a warm, comforting note.
- Sea salt (½ teaspoon): Balances the sweetness and intensifies the cocoa flavor for a richer experience.
- Cacao powder (5 tablespoons): Provides the deep, bittersweet chocolate essence that makes this ice cream irresistible.
- Extra virgin olive oil (1 tablespoon): Adds a subtle silkiness and helps with the smooth texture.
How to Make Chocolate No Churn Vegan Ice Cream Recipe
Step 1: Whip the Coconut Cream
Start by pouring the chilled coconut whipping cream into a large mixing bowl. Use an electric mixer if you have one because whisking it until light and fluffy takes some effort by hand. This step is key to creating that airy base that mimics traditional ice cream. Once whipped, add the sweetened condensed coconut milk, vanilla extract, and sea salt. Whisk these together until the mixture is uniform—this blend will set the foundation for all the creamy sweetness that follows.
Step 2: Incorporate the Cacao Powder
Slowly sprinkle in the cacao powder one tablespoon at a time. This technique ensures every bit of cocoa is perfectly mixed without clumping. Between each addition, whisk for about 10 seconds to incorporate the powder evenly. After all the cacao is in, drizzle in the olive oil and give it one last thorough whisk. This final step smooths out the texture and adds a subtle richness that surprises your taste buds in the best way.
Step 3: Freeze to Set
Transfer your luscious chocolate concoction into a loaf pan. To prevent any ice crystals forming on top, cover the ice cream surface tightly with parchment paper before sealing with a lid or plastic wrap. Pop it in the freezer for at least 4 hours until it’s completely firm. Patience here means silky, scoopable ice cream that tastes like a decadent treat straight from the kitchen.
How to Serve Chocolate No Churn Vegan Ice Cream Recipe
Garnishes
Sprinkle some chopped toasted almonds or walnuts on top to add a delightful crunch that contrasts the smooth ice cream. Fresh raspberries or strawberries offer a bright, tangy pop that complements the deep chocolate flavors perfectly. For extra indulgence, a drizzle of vegan caramel or melted dark chocolate sauce never goes amiss.
Side Dishes
Pairing this ice cream with a warm vegan brownie or a slice of apple crisp makes for a stunning homemade dessert duo. The cold creaminess alongside a cozy, warm treat creates a harmony that’s almost irresistible. Even simple vegan cookies on the side add a nice textural balance and load of charm.
Creative Ways to Present
Want to impress your guests? Serve the ice cream in chocolate-dipped waffle cones or petite glass cups layered with crushed nuts and vegan chocolate chips. You can also create mini sundaes with coconut whipped cream and a sprinkle of cinnamon or chili flakes for an adventurous twist. Presentation is all about fun and creativity that matches the welcoming vibe of this Chocolate No Churn Vegan Ice Cream Recipe.
Make Ahead and Storage
Storing Leftovers
Leftover ice cream can be covered tightly with parchment paper to prevent freezer burn and stored in an airtight container. This ensures that the texture remains just as creamy, so you get to enjoy your dessert as if freshly made even days later.
Freezing
If you want to prepare this chocolate no churn vegan ice cream ahead of time (and I highly recommend it!), allow it to freeze for a minimum of 4 hours. For best texture, try to consume it within two weeks. The natural fats in coconut cream help prevent icy crystals, keeping every bite smooth and delicious.
Reheating
While this ice cream is best enjoyed cold, if it becomes too hard to scoop, simply leave it out at room temperature for about 5–10 minutes before serving. Resist the urge to microwave, as this can alter texture and melt the creamy goodness too much.
FAQs
Can I use regular coconut milk instead of coconut whipping cream?
Using full-fat coconut milk instead of whipping cream can work, but it’s important that it’s well chilled and thick. The whipping cream has a higher fat content, which gives the ice cream that creamy, scoopable texture, so results may vary slightly.
Is this recipe suitable for nut allergies?
Yes! This recipe is nut-free since it uses coconut-based ingredients. Just make sure to avoid garnishes or toppings that contain nuts if you’re serving someone with allergies.
How long should I whisk the coconut cream?
Whisking for 2 to 3 minutes until it becomes fluffy and soft peaks form is perfect. If you don’t whisk long enough, the texture may be less airy and more dense.
Can I substitute cacao powder with cocoa powder?
You can, but note that cacao powder is less processed and offers richer antioxidants and a deeper flavor. Cocoa powder tends to be milder and sweeter, so the overall chocolate intensity might be different.
Why add olive oil to the mix?
Olive oil adds a subtle silkiness and prevents ice crystals from forming. It also helps meld the flavors together, giving this ice cream its luxuriously smooth finish.
Final Thoughts
This Chocolate No Churn Vegan Ice Cream Recipe has been one of my favorite go-to desserts for its simplicity, incredible taste, and versatility. It’s the perfect solution for anyone craving creamy chocolate goodness without complicated steps or dairy. Trust me, once you try this recipe, you’ll want to keep it on repeat—there’s just nothing like scooping a bowl of purely indulgent, plant-based chocolate heaven right from your freezer.
Print
Chocolate No Churn Vegan Ice Cream Recipe
- Prep Time: 10 minutes
- Cook Time: 0 minutes
- Total Time: 4 hours 10 minutes
- Yield: 8 servings
- Category: Dessert
- Method: No-Cook
- Cuisine: Vegan
- Diet: Vegan
Description
A rich and creamy vegan chocolate ice cream that requires no churning. Made with coconut whipping cream, sweetened condensed coconut milk, and cacao powder, this easy no-bake recipe delivers indulgent, dairy-free delight in just a few simple steps.
Ingredients
Ice Cream Base
- 14.1 oz chilled coconut whipping cream (or chilled full fat coconut milk)
- 11.3 oz sweetened condensed coconut milk
- 1 teaspoon vanilla extract
- ½ teaspoon sea salt
Chocolate
- 5 tablespoons cacao powder
- 1 tablespoon extra virgin olive oil
Instructions
- Whisk the Coconut Cream: Add the chilled coconut whipping cream to a large mixing bowl and whisk it until light and fluffy, about 2 minutes. Using an electric whisk will speed up this process and help achieve the perfect airy texture.
- Combine Sweetened Ingredients: Add the sweetened condensed coconut milk, vanilla extract, and sea salt to the whipped coconut cream. Whisk again thoroughly to fully incorporate all ingredients together.
- Incorporate the Cacao Powder: Gradually add the cacao powder in one tablespoon increments. Whisk for approximately 10 seconds before adding each subsequent tablespoon to ensure the powder is smoothly blended without clumps.
- Add Olive Oil: Pour in the extra virgin olive oil and whisk once more to combine everything evenly, enriching the creaminess and texture of your ice cream base.
- Freeze the Mixture: Transfer the mixture to a loaf pan and cover it tightly with parchment paper to protect from air exposure. Place in the freezer for at least 4 hours or until completely set and firm.
Notes
- For best results, use chilled coconut whipping cream or full fat coconut milk that has been refrigerated for several hours to separate the cream.
- The olive oil adds richness and improves texture but can be omitted if preferred.
- Ensure to whisk thoroughly at each stage for a smooth, airy ice cream.
- This recipe requires freezing time but no ice cream maker or churning, making it simple and fuss-free.
- Store leftover ice cream covered in the freezer to prevent ice crystals forming.


