
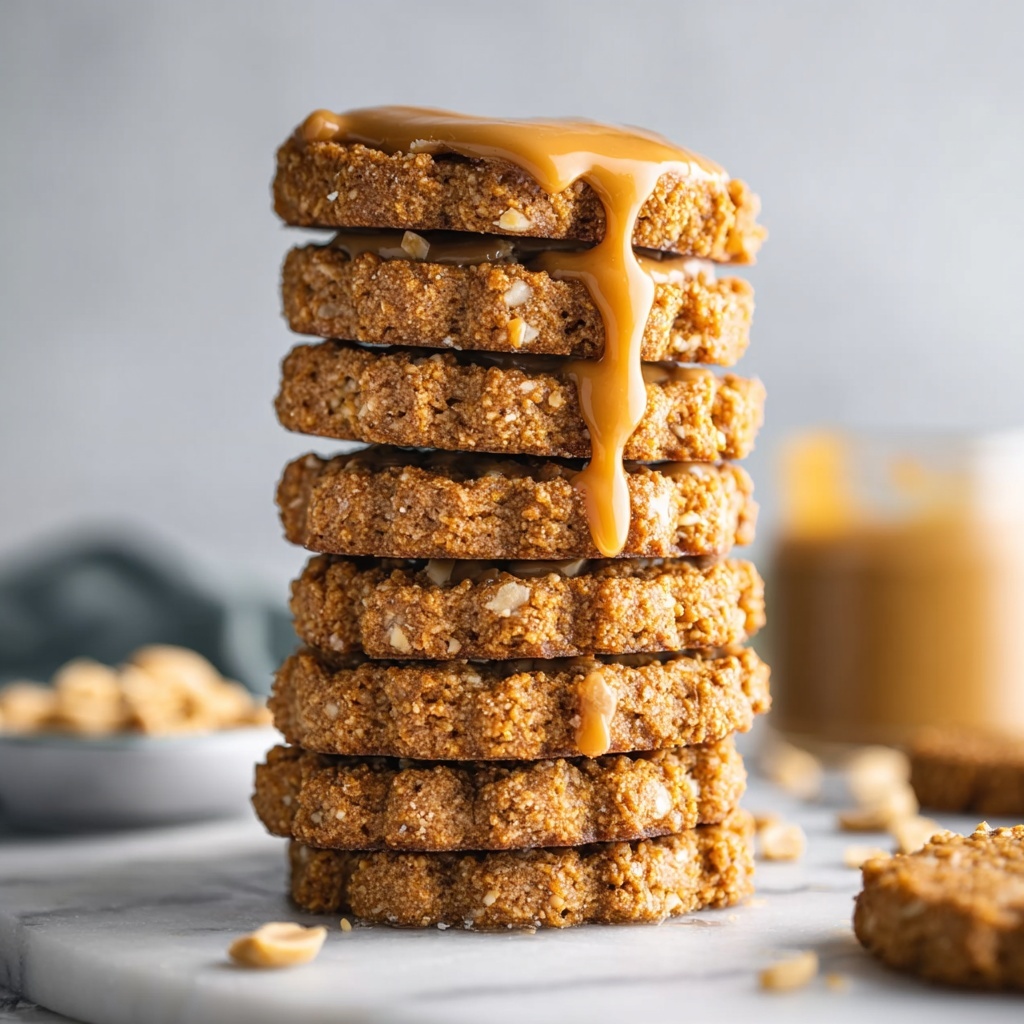
If you’ve ever craved the rich, nutty goodness of peanut butter in a cookie but didn’t want to turn on the oven, this No-Bake Peanut Butter Cookies Recipe is about to become your new best friend. These cookies are delightfully simple, coming together quickly with just a handful of wholesome ingredients, yet they deliver incredible flavor and a satisfyingly chewy texture. Whether you’re short on time or just looking for a fuss-free treat, this recipe proves that amazing cookies don’t always need baking, making it perfect for any season or snack craving.
Ingredients You’ll Need
Sometimes, the simplest ingredients make the biggest impact—and that’s exactly what happens here. Each component in this recipe plays a crucial role in balancing flavor, texture, and a touch of sweetness, creating a cookie that’s irresistibly satisfying.
- 250 g crunchy peanut butter: Provides rich, nutty flavor and delightful texture with bits of peanuts.
- 200 ml pure maple syrup: Adds natural sweetness and a subtle caramel note without overpowering the peanut butter.
- 300 g oat flour (use GF if needed, *see notes): Gives the cookies structure and a lovely chewiness while keeping them gluten-free friendly.
- 1 teaspoon sea salt (optional but recommended): Enhances all the flavors, balancing sweetness and intensifying the peanut butter taste.
How to Make No-Bake Peanut Butter Cookies Recipe
Step 1: Combine and Mix Your Ingredients
Start by adding the crunchy peanut butter and pure maple syrup into a large mixing bowl. Whisk them together until the mixture is smooth and creamy. This sweet and nutty base is where all the magic begins. Then, add in the sea salt, which might be optional but trust me—it brings everything to life. Slowly incorporate the oat flour in two to three parts, gently mixing each addition either with a spatula or a strong wooden spoon until the mixture comes together into a thick, pliable dough.
Step 2: Form and Roll Out the Dough
Once the dough is combined, take it into your hands and knead it briefly to ensure everything is evenly mixed. Place it onto a sheet of parchment paper and roll it out to about half an inch thickness. This thickness makes for just the right bite—soft and chewy, yet with some substance. Use a cookie cutter to cut into 2-inch rounds or opt for a larger size if you want fewer, bigger cookies. This step brings out your inner baker without any heat!
Step 3: Shape and Chill Your Cookies
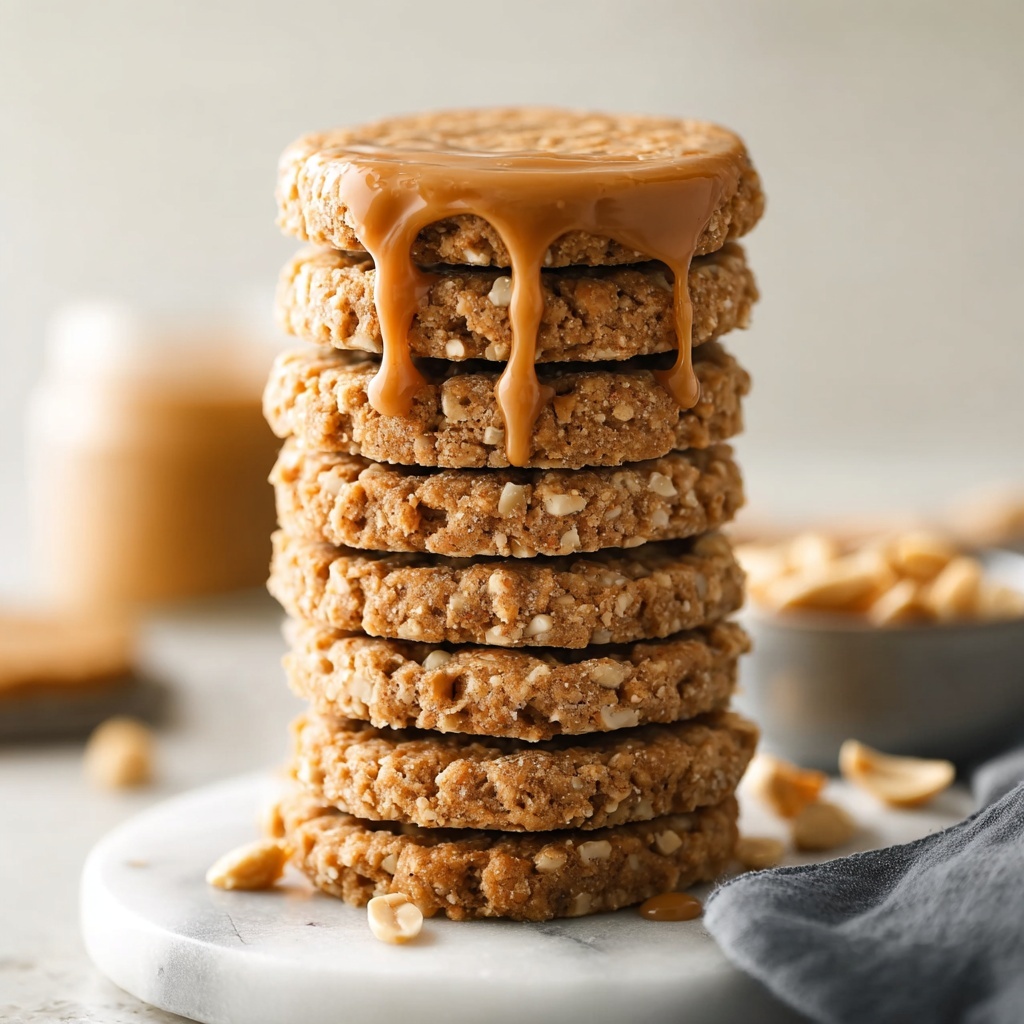
Arrange your cookie shapes on another parchment-lined baking sheet. If you want to add a little visual charm, press down lightly with a fork in a crisscross pattern, creating a signature waffle look. This also helps the cookies set more evenly. Pop the sheet into the refrigerator for at least an hour. This chilling step is crucial—it firms the cookies up nicely so they hold their shape when you enjoy them later.
Step 4: Ready to Enjoy
After chilling, your cookies should be firm yet tender, bursting with natural peanutty sweetness. They’re ready to savor anytime you want a quick, wholesome snack without heating up your kitchen. No further baking is needed, making this No-Bake Peanut Butter Cookies Recipe an absolute breeze from start to finish.
How to Serve No-Bake Peanut Butter Cookies Recipe
Garnishes
Though these cookies are fully delicious on their own, you can dress them up with some simple garnishes. Try sprinkling a pinch of flaky sea salt on top just before chilling to emphasize the peanut butter flavors. Drizzling a bit of melted dark chocolate or a light dusting of cinnamon adds a lovely touch of decadence and warmth.
Side Dishes
Pair these cookies with a refreshing glass of cold milk or a cozy cup of coffee or tea for a well-rounded snack experience. Their natural sweetness and subtle saltiness balance perfectly with creamy or bitter drinks, making snack time feel special and satisfying.
Creative Ways to Present
Presentation can be so much fun with these no-bake delights. Stack a few cookies with some fresh fruit on a pretty plate for casual entertaining. You can also sandwich a thin layer of Greek yogurt or your favorite jam between two cookies for an easy-to-make peanut butter treat that feels a bit more festive.
Make Ahead and Storage
Storing Leftovers
One of the perks of these cookies is how well they keep. Store leftovers in an airtight container in the refrigerator, where they’ll stay perfect for up to a week. The cool temperature helps maintain their chewy texture, so each bite stays just as delicious as the first.
Freezing
If you want to keep these cookies longer, freezing is a fantastic option. Place them in a single layer on a parchment-lined tray to freeze individually before transferring to a freezer-safe bag or container. They’ll hold well for up to three months, ready to be thawed quickly whenever the craving hits.
Reheating
Since these cookies don’t require baking, reheating is more about bringing them to room temperature after refrigeration or thawing. Simply let them sit out for 10-15 minutes before enjoying. If you prefer a slightly softer cookie, a few seconds in the microwave can help, but be careful not to melt the peanut butter too much.
FAQs
Can I substitute crunchy peanut butter with creamy?
Absolutely! Using creamy peanut butter will give your cookies a smoother texture. Just keep in mind that you might lose that delightful little crunch from peanut bits, but the flavor will be just as rich and wonderful.
Is maple syrup the only sweetener I can use?
Maple syrup adds a lovely depth of flavor, but you can substitute it with honey or agave nectar. Each will slightly change the taste, so feel free to experiment to find the one you like best.
Can I make these cookies nut-free?
This recipe relies on peanut butter for its signature taste and texture, so nut-free options would require a different base, like sunflower seed butter. However, make sure to test the dough consistency as it may need adjustments in oat flour quantities.
Do I have to refrigerate the cookies before eating?
Refrigeration helps the cookies set properly, so chilling for at least an hour is highly recommended. Without it, the cookies may be too soft and sticky to handle nicely.
Can I use regular flour instead of oat flour?
Yes, regular flour can be used, but oat flour keeps the cookies a bit lighter and adds a pleasant texture. If you do swap flour types, start with a slightly smaller amount to avoid a tough dough.
Final Thoughts
There’s something so satisfying about a sweet treat you can whip up quickly, without any heat or fancy equipment. This No-Bake Peanut Butter Cookies Recipe checks all those boxes and more, delivering a snack that’s chewy, flavorful, and just downright addictive. Whether you’re making them for a weeknight indulgence or a casual get-together, I promise once you try this recipe, it’ll become one of your favorite go-to cookie fixes.
Print
No-Bake Peanut Butter Cookies Recipe
- Prep Time: 20 minutes
- Cook Time: 0 minutes
- Total Time: 1 hour 20 minutes (including chilling time)
- Yield: 24 cookies
- Category: Dessert
- Method: No-Cook
- Cuisine: American
- Diet: Gluten Free
Description
These No-Bake Peanut Butter Cookies are a simple and delicious treat made with creamy peanut butter, pure maple syrup, and oat flour. They require no baking, making them perfect for a quick, fuss-free snack or dessert. With a tender, slightly chewy texture and a natural sweetness, they are enjoyed by all ages and are easy to customize for gluten-free diets.
Ingredients
Dry Ingredients
- 300 g oat flour (use gluten-free if needed)
- 1 teaspoon sea salt (optional but recommended)
Wet Ingredients
- 250 g crunchy peanut butter
- 200 ml pure maple syrup
Instructions
- Combine Wet Ingredients: In a large mixing bowl, add the crunchy peanut butter and pure maple syrup. Whisk together until the mixture is smooth and fully combined. This ensures an even distribution of sweetness and creaminess throughout the dough.
- Add Dry Ingredients: Sprinkle the sea salt into the peanut butter mixture if using, then slowly add the oat flour in two to three increments. Mix well each time using a spatula or spoon until the dough starts to come together and there are no dry patches of flour left.
- Knead and Roll Out Dough: Using your hands, knead the dough gently in the bowl until it forms a cohesive ball. Transfer the dough onto a sheet of parchment paper. Using a rolling pin, roll the dough to approximately ½ inch (1.25 cm) thickness, ensuring an even surface for uniform cookies.
- Cut Cookies: Use a 2-inch (5 cm) cookie cutter to cut out cookies from the rolled dough. If you prefer larger cookies, you can use a bigger cutter and yield fewer cookies. Arrange the cutouts onto a baking sheet lined with parchment paper. Optionally, press the tops with a fork to create a classic waffle pattern.
- Chill to Set: Place the baking sheet with cookies in the refrigerator and chill for at least one hour. This step allows the cookies to firm up and maintain their shape since they are no-bake.
- Serve and Store: After chilling, the cookies are ready to enjoy. Store any leftovers in an airtight container in the refrigerator for up to one week to keep them fresh.
Notes
- Use gluten-free oat flour to make this recipe suitable for gluten-sensitive individuals.
- If you prefer a smoother cookie texture, you can use smooth peanut butter instead of crunchy.
- For added flavor, consider mixing in vanilla extract or cinnamon when combining the wet ingredients.
- Cookies can also be stored in the freezer for up to one month; thaw at room temperature before serving.


